
$689,900
Active
4
Beds
4
Baths
2745
Sqft
2.04
Acres
000-08 265th Court Rd, Umatilla, FL 32784
MLS#: 2005942
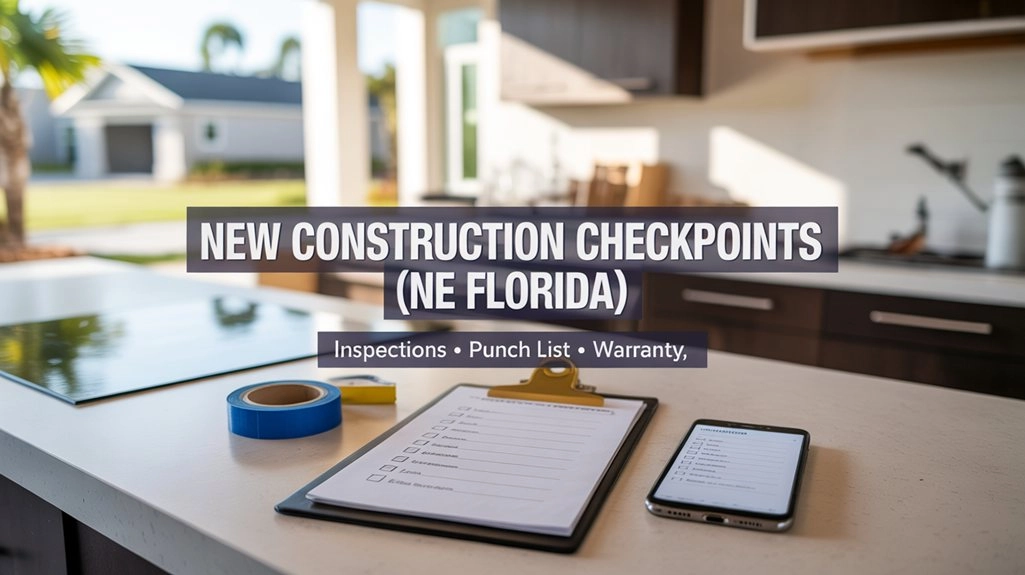
New systems and new finishes are great, but Northeast Florida weather still tests a home. Heavy rain can reveal grading issues, and humidity can expose HVAC comfort problems. This guide lays out the inspection checkpoints, punch list workflow, and warranty steps that protect a new construction real estate purchase in Duval, St. Johns, Clay, and Nassau counties.
If you’re still deciding where to buy, start broader here: Moving to Northeast Florida: What to Know Before You Choose a Home. If you’re already under contract, stay on this page—this is about what to verify, when to verify it, and what to keep in writing.
The practical shift is this: before closing, items are usually handled as part of the builder’s active schedule. After closing, many items move into a warranty process with specific submission steps, timelines, and documentation requirements. Your best protection is a clean record of what you reported, when you reported it, and how the builder responded.
In Northeast Florida, the most important “verify it early” items are usually the unglamorous ones: drainage and grading after real rain, exterior openings and sealant transitions, HVAC comfort in humidity, and early signs of settling that should be tracked consistently.
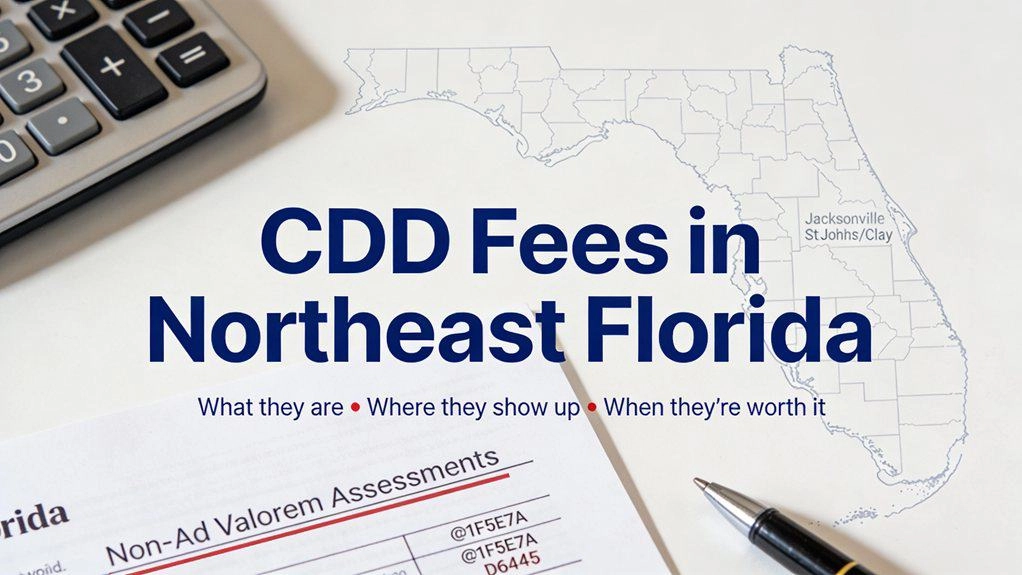
Newer communities also come with rules and ongoing fees. These two reads help you verify the paperwork and expectations before you sign: CDD Fees in Northeast Florida and HOA Rules Homebuyers Should Verify.
Create a single “Build File” folder (cloud + local backup). Keep inspection reports, punch list emails, permit/CO proof, manuals, serial numbers, and every work order in one place.
These are the four appointments that consistently protect homebuyers during a new construction real estate purchase:
If you want to compare current inventory while you plan timing, start here: Jacksonville New Construction Homes. (Your other city new construction pages can follow the same URL pattern.)
Put these on your calendar now. Ask the builder in writing: “What notice do you require for third-party inspectors, and what access rules apply?”
Some builders allow this checkpoint and some limit it. If you can get access, it’s valuable because framing and rough systems are still visible. That makes it easier for an inspector to document placement issues, incomplete items, or obvious inconsistencies before drywall covers everything.
Ask in writing: “If pre-drywall isn’t allowed, what is the earliest stage you’ll allow a third-party inspection on site?” Save the reply in your Build File.
This is your “built and functioning” review. In Northeast Florida, keep your focus on basic function, water-management details at openings, exterior transitions, and HVAC comfort in humidity. The goal is simple: turn the inspection report into a written repair plan with clear locations and outcomes.
If your lot is near a pond, a low spot, or an area that holds water after rain, fold flood due diligence into your process: Flood Zones in Northeast Florida: How to Check a Property and What It Means.
Email one specific question: “Can you confirm the plan and expected completion timing for these items before closing?” Keep everything in one thread.
The final walkthrough is easiest when you treat it like a documented review, not a casual tour. The most reliable method is a simple one: label each issue, photograph it, and match it to a written line item so nothing gets misunderstood later.
Your walkthrough kit
Decide before you walk in: “Function first, then finishes.” It keeps the walkthrough organized and prevents missed basics.
Punch lists stall when items are too vague. “Fix the window” doesn’t translate into a clear work order. A better line looks like: “Primary bedroom window, right side: binds when closing; adjust so it closes smoothly without force.” Clear wording makes it easier to schedule and easier to confirm as completed.
Prioritizing helps too. Builders typically address safety, function, and water-risk items faster than cosmetic items. If you treat everything the same, the important items can get buried.
For closing week, keep the decision framework straightforward: items that affect safety, water intrusion risk, or basic function should be corrected or documented with a written plan you can live with. Cosmetic items can often be scheduled after closing, but only if the builder confirms the scope and timing in writing.
If a Tier 1 or Tier 2 item won’t be completed before closing, ask for a written repair date and a clear access plan (who schedules, how you’re notified, and whether you need to be home).
These checks come up often after move-in because they’re tied to this climate and the way new lots settle in. The goal is to document what you see with dates and photos, not to diagnose construction.
Grading can look fine on a dry day and show problems after heavy rain. Check for standing water near the foundation line, along side yards, and near fence lines. If water holds in the same place repeatedly, document it with photos and video.
After a heavy rain, take photos/videos of any pooling from multiple angles and email them to the builder as a dated record.
In wet seasons, windows, doors, and exterior penetrations are where small details matter. During walkthrough week, take a full photo set of every window and door perimeter so you have a clear “handoff day” record.
Take a complete set of exterior openings photos (every window and door perimeter) and save them in one dated folder in your Build File.
A new home can feel cool but still feel damp if airflow is unbalanced or the system short cycles. During walkthrough, run the system long enough to feel airflow in each room. Write down any room that consistently feels warmer, stuffier, or weaker on airflow.
Ask for whatever documentation the builder provides showing HVAC setup and checks at handoff, then keep a short note of room-to-room comfort differences you noticed.
Small hairline cracks in drywall or paint can happen as a home settles. The important part is whether anything changes over time. Photograph cracks with a size reference (coin or ruler) and re-check using the same angle later.
Add a “settlement tracking” note in your Build File and report any changes through the warranty channel, not only in casual conversations.
Irrigation scope varies by community. Run each zone and watch where water lands. Look for missed corners and overspray hitting windows, doors, and exterior outlets. A short video baseline helps if coverage changes later.
Record a short video of each irrigation zone running and save it as your “day one” baseline in the Build File.
This is a simple check that can prevent confusion later. Look for a clean chain of inspections marked as passed, and for a CO/Completion indicator (wording varies by jurisdiction). If you see a permit that looks open or missing finals, ask the builder what is pending before closing.
Save screenshots showing the permit number, finals marked as passed, and the CO/Completion indicator (or the closest equivalent on that portal).
Most homebuyers hear “warranty” as one concept, but it often splits into two tracks: the builder’s warranty for workmanship/materials (and sometimes additional structural coverage), and manufacturer warranties for appliances and equipment. These can have different submission channels and different deadlines.
The point here is process, not legal interpretation. Your warranty outcome usually depends on whether you used the required channel, met deadlines, and included clear documentation. A commonly cited Florida reference for builder warranty requirements is here: Florida Statute 553.837 (builder warranty reference).
Make a one-page “Who handles what” list: builder warranty contact, appliance brands, HVAC brand, and the submission link or phone number for each.
Use this format to reduce back-and-forth. It gives the warranty team what they need to schedule, verify, and close the item without guessing.
Save this template in your notes app. Submitting complete, specific claims reduces delays and protects your warranty timeline.
Closing week moves fast. This checklist keeps your attention on items that preserve documentation and reduce post-closing confusion.
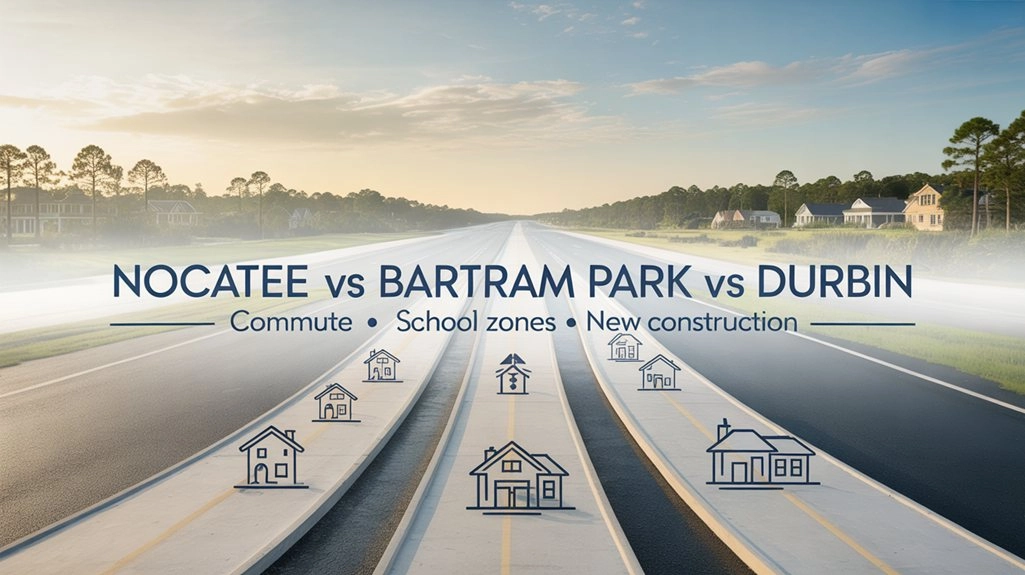
If you’re comparing new construction areas where commute patterns and school zoning affect daily life, this is a helpful reality check: Nocatee vs Bartram Park vs Durbin: Commute Times, School Zones, and New Construction Reality.
Right after your walkthrough, email yourself the punch list log and key photos so nothing gets lost in the closing schedule.
If you follow this process, the goal is clarity. You’ll know what to verify, when to verify it, and what to keep in writing so the builder can act and the warranty process stays usable. You can move in feeling confident that you handled the important steps without turning the whole experience into a second job.


These are the questions homebuyers ask most often once they’re under contract on a new construction home in Northeast Florida. Each answer ends with a simple next step you can take.
Yes—most homebuyers still schedule a third-party inspection because “new” doesn’t automatically mean “finished correctly.” In Northeast Florida, the inspection is especially useful for practical items that affect daily living and long-term durability: drainage and grading after real rain, exterior openings and sealant transitions, and HVAC comfort in humidity.
Schedule a pre-closing inspection as soon as you have a closing window, then ask the builder in writing what access rules apply.
A pre-closing inspection is typically performed by a licensed inspector and focuses on function and systems—items you want verified before you sign. The final walkthrough (often a “blue tape” walk) is your detailed review of finishes and basic operation right around closing, with photos and a written list. They work best as a pair: inspection findings become a repair plan, then the walkthrough confirms what was actually addressed.
Bring your inspection “top items” list to the walkthrough and verify them first, before you start marking cosmetic items.
A punch list is your documented list of items noticed before closing—finish details, incomplete items, and any function issues you want addressed as part of handoff. A warranty claim is typically how you report issues after closing through the builder’s required channel. In practice, the dividing line is timing: if you see it before closing, put it on the punch list and get a written acknowledgment; if it shows up after closing, submit it through the warranty process with photos and dates.
If you’re unsure which bucket an item falls into, add it to the punch list and ask the builder in writing how it will be tracked after closing.
It happens. The key is making sure items don’t turn into “he said/she said” after the keys change hands. If an item won’t be completed before closing, you want a clear written record that the builder acknowledges it, plus a realistic completion plan. Prioritize safety, water-risk, and basic function items for the strongest documentation.
Ask for a written list of open items with an expected completion window and the access plan (who schedules, how you’re notified, and whether you need to be home).
Keep anything that proves timing and clarity: inspection reports, punch list emails, builder acknowledgments, work orders, completion confirmations, manuals and serial numbers, and your warranty submission history. In Northeast Florida, also keep a dated record of rain-related observations (pooling, drainage paths, moisture concerns) because those are easiest to misunderstand later without photos.
Keep one dated folder per month in your Build File and save the email thread or ticket confirmation for every submitted issue.
Many homebuyers schedule a structured review around month 10 or 11 so they can submit remaining items while first-year workmanship coverage is typically still open. It’s not about finding minor imperfections. It’s about checking the items that tend to show up after you’ve lived in the home through seasons: settling changes, drainage patterns after real storms, and HVAC comfort across rooms in humid weather.
Set a reminder for month 10: “Schedule 11-month warranty review,” and gather your photos/notes so your submission is organized.
The fastest way is to check the permit/inspection record through the local portal and look for finals marked as passed and a CO/Completion indicator (wording varies by jurisdiction). Duval often routes through JaxEPICS, and St. Johns, Clay, and Nassau each have their own public-facing resources. If anything looks open, ask the builder what is still pending before you sign.
Save a screenshot showing finals passed and CO/Completion status in your Build File, then keep it with your closing documents.
If you’re shopping newer, amenity-heavy communities in Northeast Florida, you’ll eventually see CDD show up in a listing, a lender worksheet, or a payment estimate—usually with zero context. And because it’s tied to the tax bill (not a normal “monthly fee” you can mentally file away), it tends to trigger the late-night spiral: Is this real? Does it go away? Am I about to get surprised later?This
If you’re shopping in Northeast Florida, “flood zone” comes up fast — usually right after you fall in love with a porch, a backyard, or a commute that finally feels doable. The tricky part is that water risk here isn’t one single thing. In some areas it’s rivers and creeks. In others it’s drainage and street ponding after summer storms. Near the coast, tide timing can change how quickly stormwate
If you’re cross-shopping Nocatee, Bartram Park, and Durbin, you’re usually not trying to crown a winner. You’re trying to figure out which one fits your weekdays without turning every morning into a strategy session. This is a decision article built around three things that actually change the outcome in real estate: commute routes that behave differently at peak hour, school assignment by addre
When you’re buying a home in Northeast Florida, HOA rules are one of the fastest ways daily life can feel easy—or unexpectedly constrained. The smart move is verifying the rules by address, early, before you’re committed. Not because HOAs are “good” or “bad,” but because the details matter more than most people expect once real life shows up: guests, work vehicles, weekend projects, pets, and the
_0003.jpg)
_0002.jpg)